First, welcome to Burnalong! We’re excited that you’re ready to take some classes.
Now let’s make sure you have the best experience possible. This starts by getting your laptop, computer, or mobile device connected to your TV. This post will walk you through the best way to do just that.
Two quick things before you get started.
First, always make sure you are on the best internet connection. If you’re connecting wirelessly, make sure you have a strong connection so you can stream in HD. Some guest wifi networks just won’t cut it. And networks with rigid firewalls for security won’t let you connect to Burnalong at all. So, if you’re at work or traveling, try to find the best internet connection.
Second, if you’re using a laptop or desktop we recommend using the Google Chrome browser. You can go to chrome.com to download and install it. Burnalong works on all browsers, but Chrome has the best user experience and that’s what we want for you!
Now, let’s get connected to your TV!
The basics — There are two main ways to connect Burnalong to your TV:
- A cable
- Wireless
Don’t get the tangled mess of cables? You’re not alone; one of the most common questions we get is, “How in the world can I get Burnalong to go from here to there?”
Connecting Your Device to Your TV
It’s as simple as just plugging it in. But let’s dive in a little more. The simplest option is to connect with a wire. Here’s how:
- The most common connection type is HDMI. All flat panel TVs created after 2010 come with this connection. It looks like a rectangle with two of the corners cropped off.
- Be sure to get a cable that’s long enough to go from your TV to your computer.
- Now plug one end into the back or side of your TV and the other end into your computer.
- It doesn’t matter which end of the cable – they’re the same!
- It also does not matter which HDMI port you use on the TV – they should all work!
- If you don’t have a matching place to plug this into your computer, all you need is an adapter. Not a problem – these are easy to get on Amazon!
- If you have a Mac or Microsoft surface, you need a Thunderbolt adapter.
- TIP: Don’t have a cable handy? If your TV is hooked up to a cable box, you can probably use that cable! You can unplug it from your cable box and plug it into your computer!
- The other popular connection types for older TVs are VGA and DVI. You can easily find cables to connect to your TV and adapters to connect it into your computer if you need.
- Last step – You’ll need to make sure your TV knows which slot in the back is connected to your computer.
- Your remote control usually has a button labeled “Input.” If you don’t know which HMDI port # you used on your TV, just cycle through them until you notice that your TV is connecting to your computer.
- TIP: Make sure your computer is on. It can take a moment for your TV to recognize that it’s connected to your laptop so give each input a couple of seconds to check before moving to the next input option.
- TIP: Sometimes laptops have a setting you need to turn on when connecting to a TV. There is usually a small monitor icon on one of the keys on the top row of your keyboard. You’ll need to hold the “function” key and press that key at the same time to change the setting. You can cycle through these settings – it’s a good idea to give your laptop a few seconds to adjust after you push this key.
- Here are the key things to check if you’re running into trouble:
- Make sure the TV is on the right “INPUT” that the cable is plugged into
- Cycle through the monitor settings on your computer.
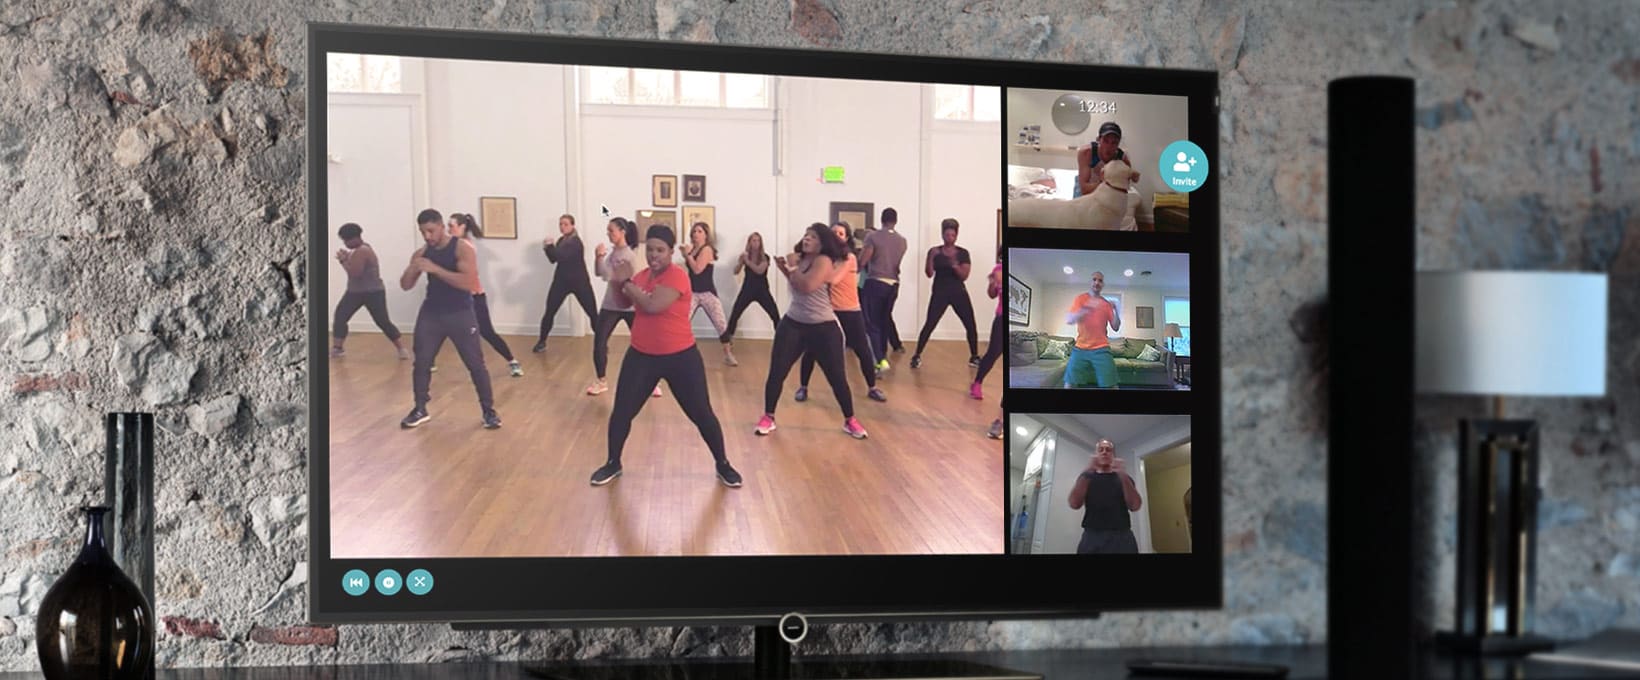
Don’t forget you can invite friends to join you.
If you have a Mac, an iPhone or an iPad
You can easily project a solo class to an AppleTV. It’s an awesome experience. Here’s how:
- Make sure your AppleTV is set up and running on your TV
- Start the solo class you want to take (group classes coming soon)
- Tap the Airplay icon (rectangle with a triangle)
- Select your Apple TV
- GO! GO! GO!
We’re always here to help if you need extra guidance contact us at [email protected].


